Sendgrid email tracking
Step 1: Track email opens
To track mail open/reads from your Sendgrid audience in LeadBoxer, you need to add a LeadBoxer tracking pixel to your campaigns or templates.
Here are the steps needed for adding the tracking pixel:
- Go to your campaign or even better: your campaign template
- Add a 'code module' in where we can add our tracking pixel
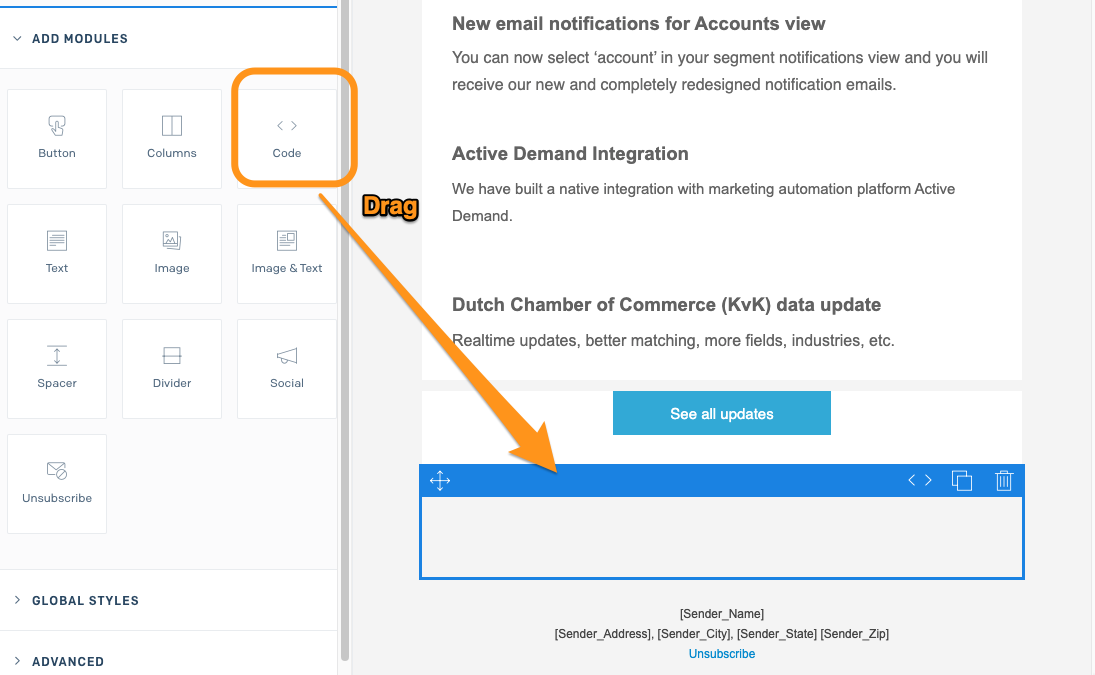
- Paste in your email tracking pixel in the HTML code field (do forget to change the dataset ID to yours)

<img src="https://track.leadboxer.com/log?datasetId=YOUR DATASET ID&campaign=Sendgrid&email=[%email%]" width="1" height="1"><br>
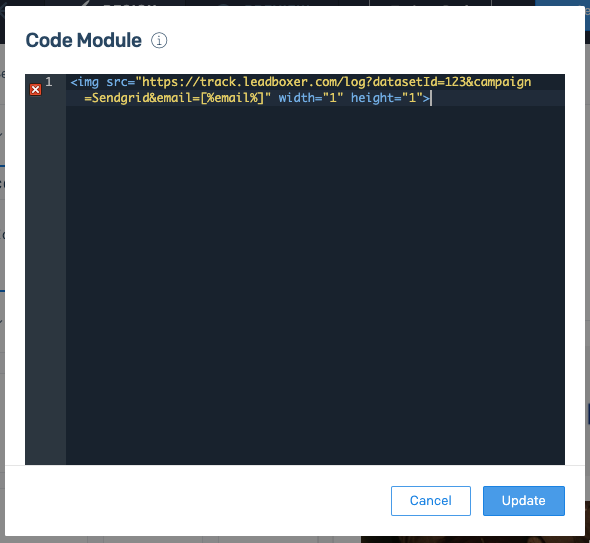
4. Close and Save
Notes:
- Don't forget to change the DATASET ID to your own
- Change the campaign parameter value to reflect the email title or campaign name
Tips:
- You can add other (custom) fields as parameters if you would like them to show up in LeadBoxer, eg &firstName=[%first_name%]
- See Sendgrid reserved field options here: https://sendgrid.com/docs/ui/managing-contacts/custom-fields/#reserved-fields
Step 2: Track email clicks and identify prospects on your site
To track email clicks, you need to modify the links inside your email campaigns and add this parameter to the URL of the link:
&email=[%email%]
This will allow us to identify the individual visitors when they land on your site.
Optionally but recommended, you should add additional parameters to enrich the visitor with other information from your database:
Example URL
https://www.YOURDOMAINNAME.com/my-landing-page/?firstName=[%first_name%]&lastName=[%last_name%]&email=[%email%]&companyName=[%company_name%]
Final Tip: Best practice is to test before sending out a mass email